
Step 1 Moisturizer:

Step 2 Eye cream:
 I take my Clinique All About Eyes (gel formula) eye cream and apply that to under my eyes and on my lid! This cream is great because it can double as an eyeshadow base [because there's some silicone in it, Urban Decay Primer Potion is basically just silicone :) ], it is light, gets absorbed really nicely, creates a smooth finish for eyeshadows and doesn't cause any creasing, or gathering of my eyeshadows!! If you're going to use an eye cream before makeup application, I highly suggest this one because it isn't greasy like most other eye creams! (Although, this isn't the eye cream I use at night time).
Step 3 Primer:
 At the moment I'm using a travel sized Make Up For Ever HD Primer (I have had the full sized version as well so I have given my skin enough time to see if this negatively affected it). While I do really like the moisture this primer gives my skin, I don't like that it doesn't give my foundation any added benefits. For example, it doesn't make it last any longer, I don't find, my pores are not reduced in size, and I wouldn't say it gives me a smoother canvas to work on. But like I said, I do really appreciate the added moisture it gives my skin, because my skin (especially on my cheeks) can dry out. I also really like that it is super light, and while it does have some silicone in it (I don't think it has very much) it doesn't feel like silicone, it is very moist and absorbs very well, and it doesn't cause my skin to break out like I have in the past from primers with silicone. Primers I did not like are Smashbox Photo Finish, and Photo Finish light, Stila Hydrating Primer, the Laura Geller spackle was just OK (made my skin kind of sticky). If you guys know any fabulous primers that are either silicone free, or really light in silicone I would LOVE to know what your faves are!!
Step 4 Foundation:

 I switch my foundation up all the time, and sometimes use Dinair airbrush foundation when I'm not being lazy, but more often than not I will wear liquid foundation. At the moment I'm using Nars sheer glow in Barcelona. I really like the coverage (medium-full in my opinion) and I love the finish! It gives such a gorgeous glow (hence the name). I don't love that it doesn't come with a pump (I'll have to order one online :( ]. I use a MAC 131 Duo Fiber brush and I pull the foundation outwards starting in the middle of my face (my cheeks). And I will do crossing motions to smooth out any possible streaks!
 Step 5 Concealer:


At the moment I'm using MAC's Studio Finish concealer in NC35 (although I would suggest an NW shade for under eyes to cancel out the blue/purple tones, and a cooler shade for blemishes to cancel out the redness). While I was away I wore the Make Up For Ever Full Cover concealer for a day and LOVED it! Unfortunately I forgot about it and never went to buy it and now I can't remember the shade I wore. So to apply my concealer I use a fluffy brush, I used the MAC 225, although this changes depending on which brush is closest and cleanest haha! I always use a fluffy brush for both my concealer on blemishes and under eyes. Why? Because it lightly diffuses the product, as opposed to some flat synthetic brush which can actually remove more product than it applies. If you feel you need extra coverage the best tools are your fingers to control how much concealer you need! :)
Step 6: Highlight
 For highlight, and I don't do this all the time,
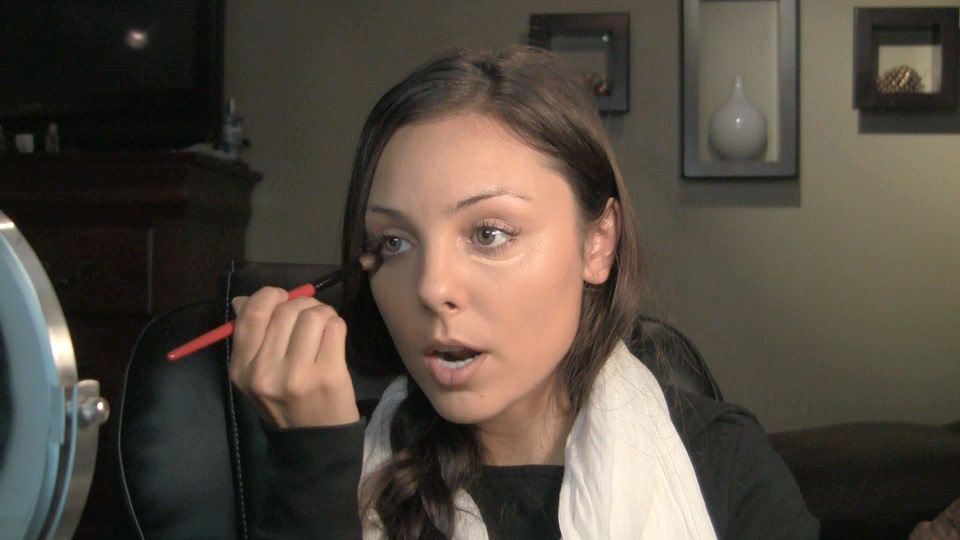 but I will take Yves Saint Laurent Touche Éclat in both 2 and 3 and I will apply these in different areas. I will take number 3 (because it is closer to my skin tone than number 2) and I will apply this right under my eyes. The peachy light reflective tone helps minimize the look of my purple under eye area. I'll take a fluffy brush and blend it into my skin and bring it into the inner corner of my nose where my skin is the most blue. With number 2 I will put this just on the inner corner of my eyes and blend that up into the inner corner of my nose/eyes as well. Sometimes I will apply this for a highlight under my brow, on my cheekbones and down the middle of my nose. Because this is an illuminating product and has light reflective properties, stay away from using products like these on blemishes because they will draw light to that area.
Step 7 Powder:

 Lastly I'll take some form of finishing powder, my fave is MAC MSFN (or Mineralized Skin Finish Natural) in Medium Plus LOVES IT. When I want to look more matte I'll use Make Up For Ever's Microfinishing Powder (which is basically straight up silica). I buff this into my skin with a MAC 182 Kabuki brush (the most fabulous kabuki your face will ever have the pleasure of meeting). And finité!
Hey, I'm enjoying your blog..It's off on a very good start! Maybe you should start putting in like outfit of the day/face of the day..etc. Would be fun to watch! You should also do hauls :)
ReplyDeleteSonia
@Anonymous Awww thank you so much for your fantastic suggestions!! I will definitely start doing OOTD and FOTDs!! And great suggestion for the hauls! :) Thanks!
ReplyDeleteLove your videos they are very informative. Your are very pretty. Couple quick questions...What do you use on your eyebrows (shadow or pencil) to fill them in? What eye cream do you use at night and do you put it on your eyelids also. Thanks for your time...keep up the great work.
ReplyDelete@Anonymous
ReplyDeleteHey there! Aww thank you so much that's a huge compliment and it means so much to me that you think so highly of my videos! I use MAC Lingering brow pencil to fill my brows in, I have a video on how I fill them in: http://www.youtube.com/watch?v=jg3Y7OlMQkk that's the link. I alternate my eye cream at night because I don't need the full effects yet from the one I use strictly for night time. The one I use is Kinerase Restructure Firming Eye Cream. I use Clinique around my entire eye and on the lid, but the Kinerase I only apply to under my eye because it kind of replenishes the moisture in your skin I think so it makes the area more full if that makes sense. Not puffy but full. However when I've applied it above my eye it made my eyelid look a little puffy because it made my skin fuller. :) Feel free to ask me any questions you'd like! :)
hi i think your absolutely gorgeous...what foundation do u currently use now and do u use any powder foundation or anything after applying foundation
ReplyDeleteI don't have Any of those things and nor do I think anyone else does unless they are willing to spend a large amount of money. I don't think I learned anything I didn't already know. Waste of time I say.
ReplyDeleteFortunately a lot of my YOUTUBE subscribers do have some of these products as most of them are cult favorites. This was a REQUESTED video so I posted, in detail, my foundation routine. Your post is entirely ignorant. I don't know why you bother hiding behind anonymous when it's pretty commonplace for people to understand that google analytics sees right through "anonymous". Like the fact that you came here looking to see how Clinique all about eyes works, it doesn't. Or the fact that you live in Troy New York, accessed this post on an iPhone and visited 3 pages (for a post you call crap, it's funny that you were interested in others)... shall I go on? It's bizarre to me also that you'd stay on for 3 extra minutes after posting your initial comment to write another one calling this blog crap. Maybe be a little bit more considerate before you write rude and purposeless comments, like the ones you just have, next time. You're on the internet sweetheart, nothing is anonymous.
DeleteThis is crap
ReplyDelete